
How to Overlay Images Online
Overlaying images means placing one picture on top of another: a logo on a product shot, a second photo in the corner, or several stickers arranged by hand. ROCKIMG has two free tools for that. Image Overlay is the quick version: one base, one overlay, five fixed positions. Image Overlay Custom is the one to open when that is too tight. You keep a single base and add several layers, then drag, scale, and fade each layer on its own. Both run in the browser. Nothing is uploaded.
Published on: September 26, 2026


Stack several images and place each layer by hand.
Open Image Overlay CustomWhy people overlay images
An overlay keeps the base photo and adds something on top of it. You are not blending two faces into one frame, and you are not cutting the file into tiles. You are stacking.
Typical jobs:
- Logos and watermarks — a mark in a corner, or slightly in from the edge so it does not collide with the subject.
- Stickers and badges — a second graphic that has to sit on a specific object, not on a preset point.
- Before-and-after insets — a smaller photo parked over the main shot.
- Mockups — a screenshot, label, or product photo dropped onto a background.
- Collages with a clear base — one scene stays full size, and extra pictures are guests on top of it.
The hard part is placement. A logo that is forced into the exact center often covers the subject. A logo forced into a corner can clip the frame. Once you need two marks, or a size that is not “half the base,” fixed slots run out.
What the basic Image Overlay tool does
Image Overlay takes exactly two files: a base and one overlay. You set a size percentage, an opacity percentage, and one of five positions: center, top left, top right, bottom left, or bottom right. Then you apply and download.
That is enough when the job really is “put this one picture in a corner and fade it.” The size slider runs from 10% to 200% of the overlay’s own pixel size. Opacity runs from 0% to 100%. The result is a PNG. Transparent overlay PNGs keep their see-through pixels, which is how a logo avoids a white box.
It will not do three things:
- A third image. There is only one overlay slot.
- A position between the presets. You cannot park the overlay 40 pixels in from the corner, or over a chair, or along a horizon.
- A different size and fade for a second mark. One slider pair covers the only overlay.
Why Image Overlay Custom is the tool to use
Image Overlay Custom starts with one base and then accepts up to 10 overlays. Each layer has its own place, size, and opacity. You move it with the pointer instead of a five-item menu.
On the page, the left column is the workspace. The base fills the preview. Each overlay is a layer you can:
- Drag anywhere on the base, including partly off an edge if you want a crop.
- Scale from the corner handle. Width and height stay in proportion, so a logo does not get stretched.
- Fade with the Opacity slider for the layer you have selected. 100% is solid. Lower values let the base show through.
- Reorder with Forward and Back. The list on the left, under the picture, is the stack. Forward moves that layer toward the top.
- Remove a layer without starting over.
Add overlay accepts one file or several at once. New layers land near the middle at about 40% of the base width, so you can see them immediately and then drag them into place. Create draws a PNG at the base image’s pixel size. Download saves image-overlay-custom.png.
The checkerboard behind the preview is only a guide. It is not part of the file. Empty areas in a transparent PNG stay transparent in the export where they do not cover the base; the base itself is opaque if you uploaded a JPG.
How to stack layers with Image Overlay Custom
Upload the base, add the overlays, drag and scale each one, set opacity, then create and download. The controls sit under the picture on the left. The finished PNG appears on the right.
Step 1: Upload the base
Open image-overlay-custom.html. Drop a JPG, PNG, WebP, or GIF on the upload zone, or click to browse. This image sets the canvas. Later layers cannot make the file larger than this photo. If the long side is over 4096 pixels, the tool scales it down so the browser stays responsive.
Step 2: Add one or more overlays
Click Add overlay and pick the files. A logo PNG with a transparent background is the cleanest watermark. A second photograph works as an inset. You can add up to 10. If you only need one, stop at one. The extra slots are there for the jobs the basic tool cannot finish.
Step 3: Drag and scale
Click a layer to select it. A border shows which one is active. Drag the middle of the layer to move it. Pull the corner handle to resize. Because scale keeps the aspect ratio, you change size without turning a circle into an oval.
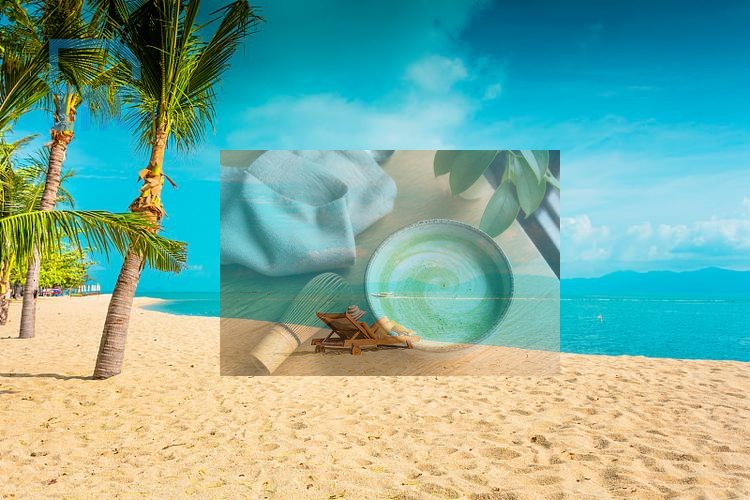
Put the mark where the photo has room. On the beach example, the latte inset sits on the sand at the lower left, and the logo sits in the open sky at the upper right. Neither of those spots is “center” or a flush corner. That is the difference from the five-position tool.
Step 4: Set opacity and order
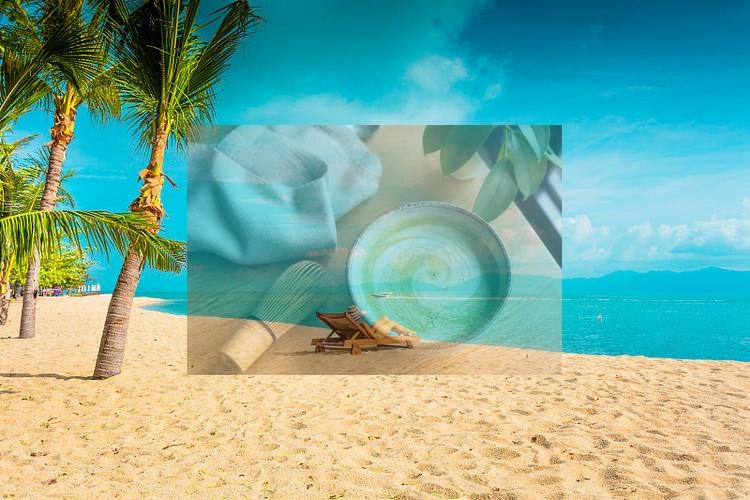
With a layer selected, move Opacity. Use a high value for a sticker that should read as a solid object. Use something near 40–70% when the overlay should tint the base instead of hiding it. The center example earlier is that faded look, locked in place. On the custom tool you can fade one layer and leave another solid.
Forward and Back change which layer paints last. If the logo disappears under the inset photo, select the logo and send it forward. Remove deletes only that layer.
Step 5: Create and download
Click Create. The right panel shows the PNG. Click Download. The pixel width and height match the base, so a 750×500 base stays 750×500 with the layers baked in. Refreshing the page clears the base and every layer, so download before you close the tab.
Tip: Place the largest inset first, then the small logo. It is easier to tuck a mark into leftover space than to drag a big photo around a logo you already like.
When the basic tool is still the right click
Use Image Overlay when you have exactly two images and a corner or the center is the right spot. Set size, set opacity, pick the position, apply, download. There is no layer list and no handle to pull.
Use Image Overlay Custom when any of these are true:
- You have two or more things to place on the base.
- The mark has to sit on a person, a product, or a gap in the sky, not on a preset.
- One layer should be faint and another should be solid.
- You will nudge the position more than once.
A third ROCKIMG option, Images Combine, joins pictures into a new layout side by side or in a grid. That replaces the base instead of painting on top of it. Pick overlay when the original photo should remain the full frame.
Tips for a clean overlay
Match the file type to the job, and leave a little air around marks that should stay readable.
- Export logos as PNG with a real transparent background. A JPG logo brings a rectangle with it.
- Keep watermarks off faces and off the main product unless covering them is the point.
- For a stamp, stay near 80–100% opacity. For a blend, start around 50% and move the slider until the base is still recognizable.
- Scale with the corner handle, not by uploading a pre-stretched file. The handle preserves proportion.
- If two layers overlap, decide which one wins and use Forward. The list order is the paint order.
- The basic tool’s 200% size can overflow the base. On the custom tool, drag the overflow where you want the crop to happen.
- Both tools process locally. Close the tab only after the PNG is on your device.
For a single faded picture in the center, the basic overlay is the short path. For a logo in the sky and a second photo on the sand, open Image Overlay Custom, add both files, and drag them until the base still reads.
Upload a base photo and place your first layer.
Open Image Overlay Custom