
How to Add a GIF to a Static Image
A still photo plus a looping sticker can turn a quiet beach shot into a meme, a reaction post, or a playful ad. Desktop editors such as Photopea (and Photoshop-style workflows) can do it with layers and frame export. If you want the same result without digging through document tabs, ROCKIMG’s free Add GIF to Image tool lets you place an animated GIF on a JPG, PNG, or WebP photo, then download a new animated GIF—all in your browser.
Published on: August 1, 2026

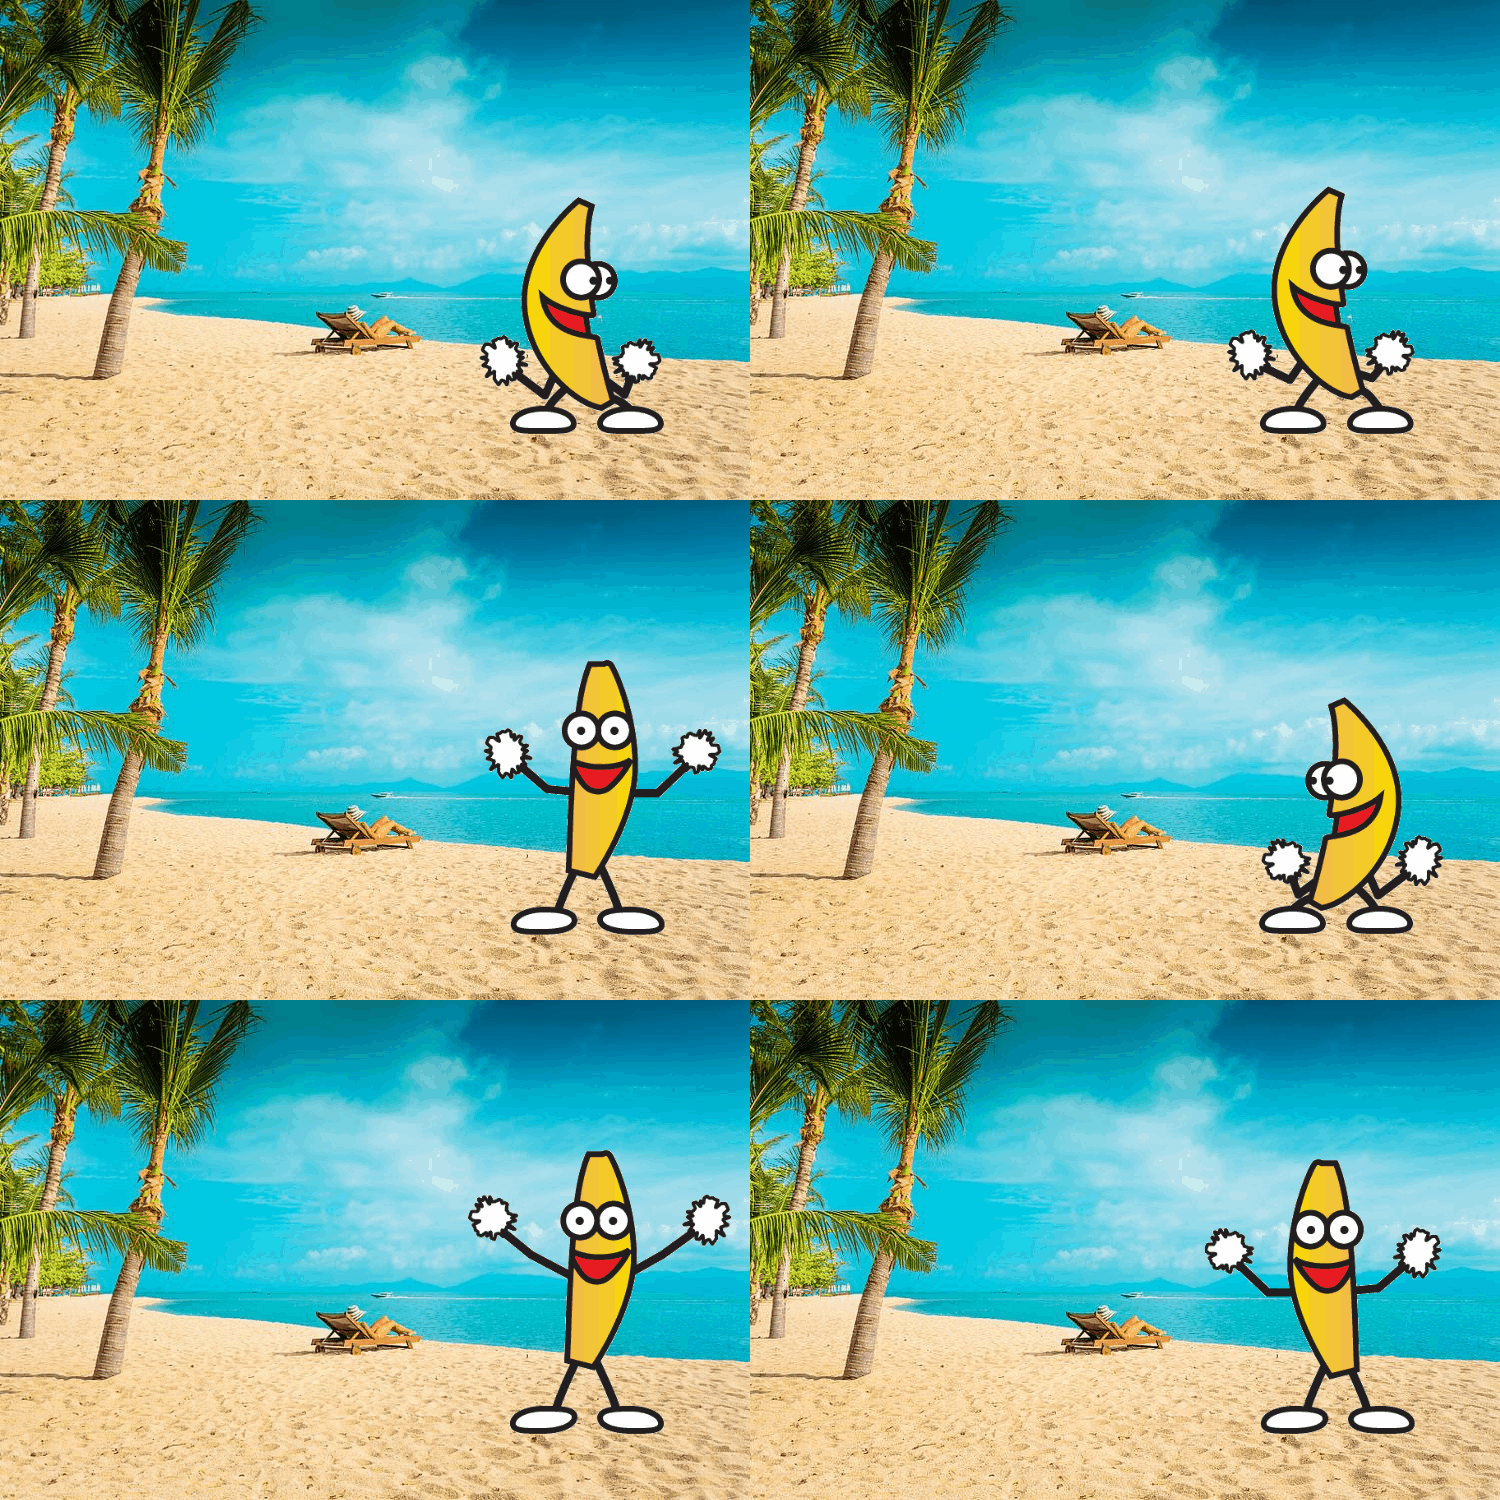
Overlay a GIF on any still photo—drag, resize, and download in your browser.
Open Add GIF to ImageWhy put an animated GIF on a still photo?
You keep the composition of a real photo and add motion only where you want it—stickers, characters, sparkles, or reaction loops. That mix works well for social posts, product teasers, event invites, and light-hearted edits when a full video editor is overkill.
Common jobs look like this:
- Memes and reactions — drop a looping character onto a vacation or office photo.
- Stickers and badges — animated seals, arrows, or emoji-style accents on a product shot.
- Story and chat content — keep the background readable while one element moves.
- Lightweight ads — call attention to a logo or CTA without shooting video.
How to add a GIF into a still image in Photopea (Photoshop-style)
Photopea is a free, browser-based editor with a Photoshop-like interface. Its tutorial Add GIF Into a Still Image walks through a solid desktop-style method: open the still, open the GIF, copy every animation frame into the photo document, position the whole stack, then export a GIF.

Step 1: Open the still image
Go to Photopea, choose File → Open, and load your background photo. If the canvas is huge, use Image → Image Size and keep width and height under about 1000 px. Very large documents eat RAM and can crash on phones—the Photopea guide calls this out clearly.
Step 2: Open the GIF
Use File → Open again for the animated GIF. You should see two document tabs: one for the still, one for the GIF. In the Layers panel, GIF frames often sit inside a folder (for example named “animated”).
Step 3: Duplicate frames into the still document
Right-click that folder in the Layers panel and choose Duplicate Into. Pick the still-image document as the destination and confirm. All frame layers land on the photo so they stay in sync when you move or scale them.
Step 4: Position and transform
Switch to the still-image tab. The GIF usually appears in a corner. Turn off auto-select if it fights you, then drag the folder so every frame moves together. Use Free Transform to scale or rotate. When the placement looks right, go to File → Export As → GIF and save.
Photopea tip: Moving the folder (not a single frame) keeps the animation aligned. If you need several overlays at once, Photopea’s follow-up notes cover stacking multiple GIFs that play together.
That workflow is powerful when you already live in layers, masks, and timeline tools. It also means learning document tabs, Duplicate Into, and GIF export settings. For a one-off sticker on a beach photo, a purpose-built overlay tool is usually faster.
Faster path: Add GIF to Image on ROCKIMG
ROCKIMG’s Add GIF to Image page is built for one job: put an animated GIF on a static photo, preview the placement, and encode a downloadable GIF. There is no second document tab, no Duplicate Into dialog, and no need to manage a folder of frames by hand.
- Two clear uploads — background: JPG, PNG, or WebP (static only); overlay: animated GIF.
- Drag to position — move the GIF on a live stage over your photo.
- Corner handle + size slider — scale with the blue handle or the GIF size control (percentage).
- Opacity slider — fade the sticker so it sits softer on busy backgrounds.
- Create → Download — compose the animation, then save the result to your device.
- Local processing — work stays in your browser; files are not uploaded to ROCKIMG servers.
- Practical limits — very large photos are auto-scaled (max side 1600 px) so encoding stays reliable; output keeps the GIF’s timing.
Step-by-step: overlay a GIF with add-gif-to-image.html
Use the same beach photo and character GIF from the figures above, or your own pair of files. The UI labels match what you see on the workshop page.
Step 1: Open the tool
Visit add-gif-to-image.html in a modern desktop or mobile browser.
Step 2: Upload the background image
Under Upload background image, drop a static JPG, PNG, or WebP (or click to browse). Animated backgrounds belong in other tools—this slot expects a still frame.
Step 3: Upload the GIF overlay
Under Upload GIF overlay, add the animated GIF. After both files load, the stage appears so you can position the overlay on the photo.
Step 4: Drag, resize, and set opacity
Drag the GIF to the spot you want. Use the blue corner handle or the GIF size slider to scale. Adjust Opacity if a full-strength sticker feels too loud on the photo. A short help tip under the stage reminds you: drag to move, corner handle to resize.
Step 5: Create and download
Click Create. The tool encodes each frame with your overlay. When the result is ready, click Download and save the animated GIF. Longer source GIFs take longer to encode—that is normal.
Tip: Start around 30–50% GIF size for character stickers on landscape photos, then nudge position so the loop does not cover faces or the main subject.
Photopea vs. ROCKIMG: which should you use?
Choose Photopea when you need full layer control, masks, or multi-GIF timelines. Choose ROCKIMG when you only need to place one animated overlay on a still photo and leave with a GIF file quickly.
- Use Photopea for complex composites, careful masking, or several animations that must stay editable as layers (see the Photopea GIF-into-still tutorial).
- Use Add GIF to Image for drag-and-drop placement, opacity, and a single animated export without layer bookkeeping.
- Privacy note — ROCKIMG processes locally in the browser for this tool, which helps when the photo is personal or not ready for a public upload workflow.
Related ROCKIMG tools
Need a different GIF workflow? These siblings cover the common next steps:
- Add Image to GIF — reverse direction: place a still image onto an existing animation.
- Add Text to GIF — caption or meme text on a looping GIF after your overlay is done.
Quick checklist before you export
- Background is a static image; animation goes in the GIF upload slot.
- Keep overlays small enough that the subject of the photo still reads at a glance.
- Watch file size after download—busy GIFs grow quickly; compress later if a chat app rejects the file.
- If encoding feels slow, try a shorter GIF or a smaller background (the tool already caps long edges at 1600 px).
You now have two clear routes: Photopea’s Duplicate Into + Export As GIF path for editor-style control, or ROCKIMG’s Add GIF to Image workshop for a focused overlay in a few clicks. Upload your still, drop the GIF, drag it into place, hit Create, and share the loop.
Place an animated GIF on your next photo—free, private, in the browser.
Try Add GIF to Image