How to Highlight Text in an Image Online
Need to highlight text in an image—a screenshot, scanned document, or photo of a sign—without opening Photoshop? When the words are baked into pixels, you cannot select them like editable text. The practical fix is to draw a semi-transparent marker over the area you want to emphasize. ROCKIMG’s free Highlight Image tool at highlight-image.html lets you highlight parts of an image with rectangles, ovals, or freehand shapes, then download the result—all in your browser.
Published on: June 18, 2026
Mark important text or regions on any image—free, no upload to servers.
Try Highlight ImageWhy highlight text inside an image?
Images of text appear everywhere: UI screenshots, PDF exports saved as PNG, phone photos of whiteboards, social posts with embedded captions, and scanned homework. You often need to call attention to one line, button, price, or clause without retyping the whole page. Learning how to highlight text in an image saves time when:
- Sharing screenshots — point teammates to a menu item, error message, or setting.
- Study and documentation — emphasize a definition, formula, or step in a captured page.
- Support tickets — show customers exactly which field or label you mean.
- Social and presentations — add a focus effect over quoted text in a meme or slide grab.
- Privacy-friendly edits — highlight instead of blur when you want readers to see the content clearly.
Image text vs. real text: what you are highlighting
In a Word doc or Google Doc, you select characters and apply a highlighter. In a JPG or PNG, letters are just colored pixels—there is no text layer. To highlight text in an image, you overlay a colored shape on top of the word or paragraph. The goal is to mimic a physical highlighter pen: the text stays readable underneath a translucent yellow (or other color) wash.
ROCKIMG’s Highlight Image tool is built for exactly that: draw one or more highlight regions, tune color and opacity, apply, and export.
What the Highlight Image tool offers
On highlight-image.html, processing runs locally in your browser—files are not stored on ROCKIMG servers. Supported uploads include JPG, PNG, WebP, and other common image formats up to 20 MB.
- Three draw modes — Rectangle (default, best for lines of text), Oval (soft focus on a phrase or icon), and Freehand (irregular areas or curved underlines).
- Custom highlight color — color picker plus quick presets (yellow, red, green, blue, magenta).
- Opacity control — slider from 10% to 80% so text stays readable under the mark.
- Border width — 0–10 px outline for sharper edges when you need extra definition.
- Multiple highlights — add several regions on one image before applying.
- Reset — clear all marks and start over without re-uploading.
- PNG download — export the final composited image at full resolution.
Step-by-step: highlight text in an image
Step 1: Upload your image
Open highlight-image.html and drag your screenshot or photo onto the upload zone, or click to browse. The image appears in the editor with highlight controls below it.
Step 2: Choose a highlight mode
Pick the shape that fits your text layout:
- Rectangle — drag a box over a line, paragraph, or table cell. Most common for highlighting text in screenshots.
- Oval — draw an ellipse around a circular badge, profile name, or short phrase.
- Freehand — trace odd angles, handwritten notes, or multi-line blocks that do not fit a neat rectangle.
Step 3: Set color, opacity, and border
Yellow at around 50% opacity mimics a classic highlighter. Lower opacity keeps busy backgrounds visible; higher opacity makes the mark bolder. Add a thin border if the highlight color is close to the background and needs separation.
Step 4: Draw over the text
Click and drag on the image to place each highlight. Repeat with the same or different settings to mark multiple passages. Use Reset if you want to remove all marks and redraw.
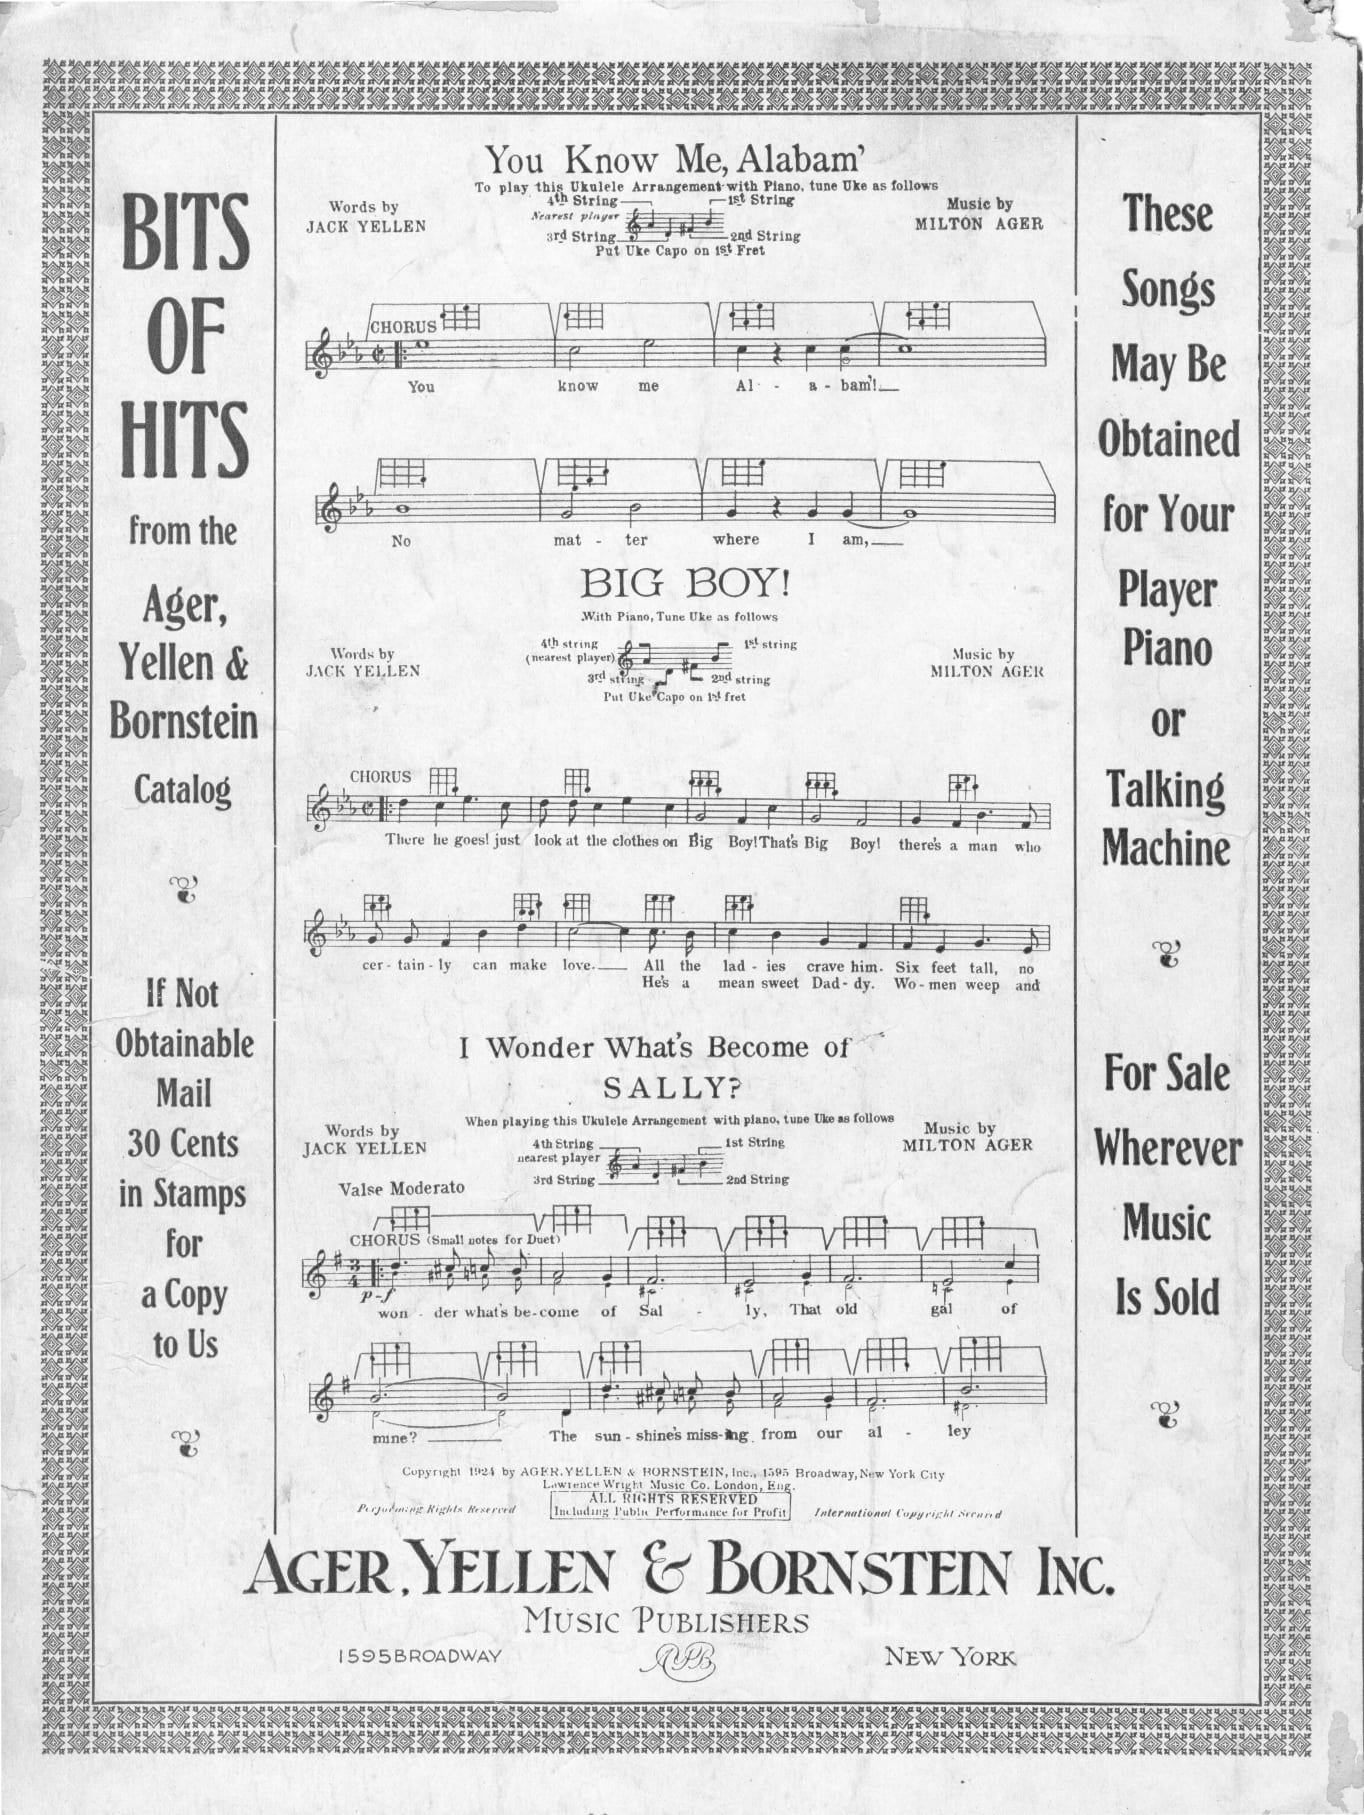
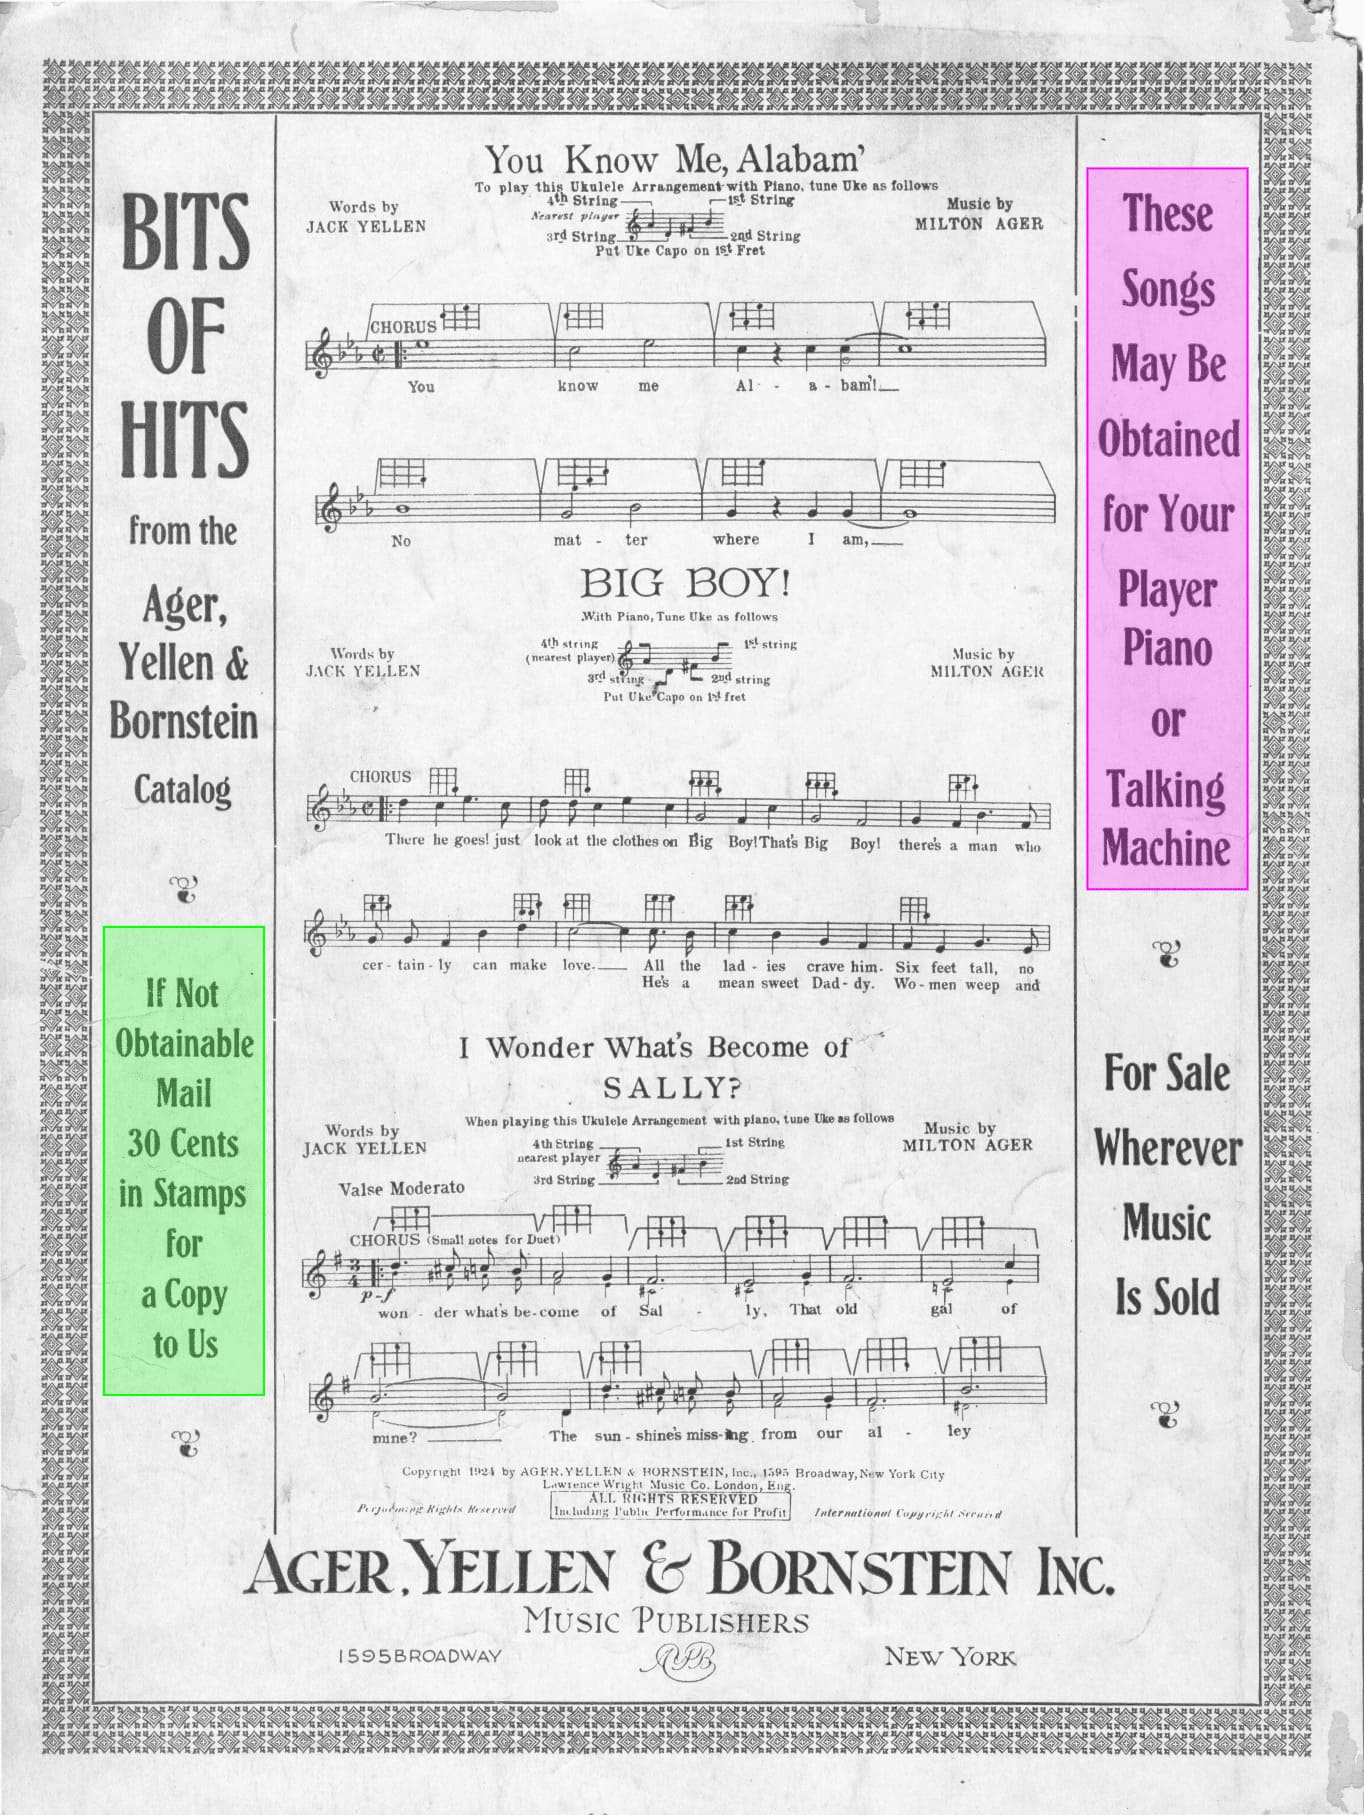
In the example above, Rectangle mode marks two separate blocks on the vintage catalog—green at roughly 50% opacity for the mail-order line, pink for the player-piano notice—without covering the song titles or sheet music.
Step 5: Apply and download
Click Apply Highlight to bake the marks into the output canvas. When the result appears, click Download to save highlighted-image.png.
Tip: For a single line of text, use a flat rectangle slightly taller than the cap height and wider than the line—avoid covering unrelated UI elements above or below.
Best modes for common text layouts
Single line in a screenshot: Rectangle mode, yellow, 40–50% opacity, 0–2 px border.
Paragraph in a scanned page: One rectangle per paragraph, or Freehand if the scan is skewed.
Round badge or avatar label: Oval mode with moderate opacity.
Two different clauses: First highlight in yellow, second in green—or same color with two separate rectangles before clicking Apply.
Highlight Image vs. other ROCKIMG tools
Pick the right tool for your goal:
- Highlight Image — semi-transparent color over text or regions; content stays visible.
- Annotate Image — arrows, text labels, and shapes for explaining UI flows.
- Blur Photo — hide sensitive faces or data instead of emphasizing it.
When you only need to highlight parts of an image that contain text, the dedicated highlight tool is the fastest path.
Tips for clean, readable highlights
- Prefer rectangle marks for horizontal text—they look intentional, like a real highlighter stroke.
- Keep opacity between 35% and 55% on white backgrounds so black text remains crisp.
- On dark mode screenshots, try a lighter preset (green or magenta) with lower opacity.
- Add highlights one at a time; you can stack several before applying.
- Save the original file separately if you might need an unmarked version later.
- For very long documents, consider cropping the relevant section first, then highlighting—less clutter on screen.
Conclusion
You cannot select text inside a flat image file, but you can still highlight text in an image effectively with the right overlay. ROCKIMG’s Highlight Image tool on highlight-image.html gives you rectangle, oval, and freehand modes, adjustable color and opacity, multiple marks per file, and local browser processing—no install required.
Highlight text and key areas on your next screenshot.
Open Highlight Image