How to Convert a Color Image to Black and White
Turning a color photo into black and white can sharpen composition, emphasize texture, and give portraits a classic look. This guide covers how to make an image black and white in Photoshop, then shows a faster free option: ROCKIMG’s Black and White Photo Converter at black-and-white.html, which runs entirely in your browser.
Published on: June 18, 2026
Skip Photoshop and convert a photo to black and white online.
Try Black and White ConverterWhy convert color images to black and white?
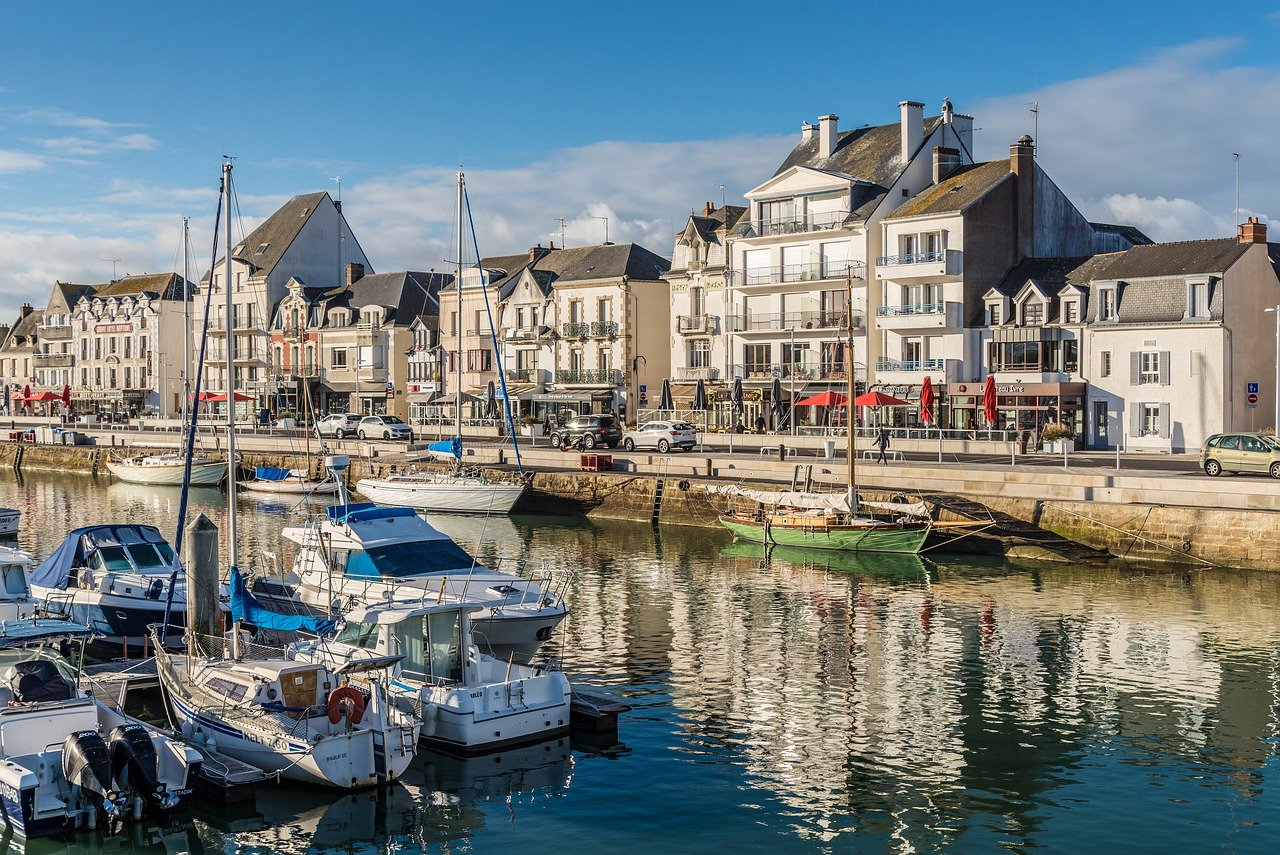
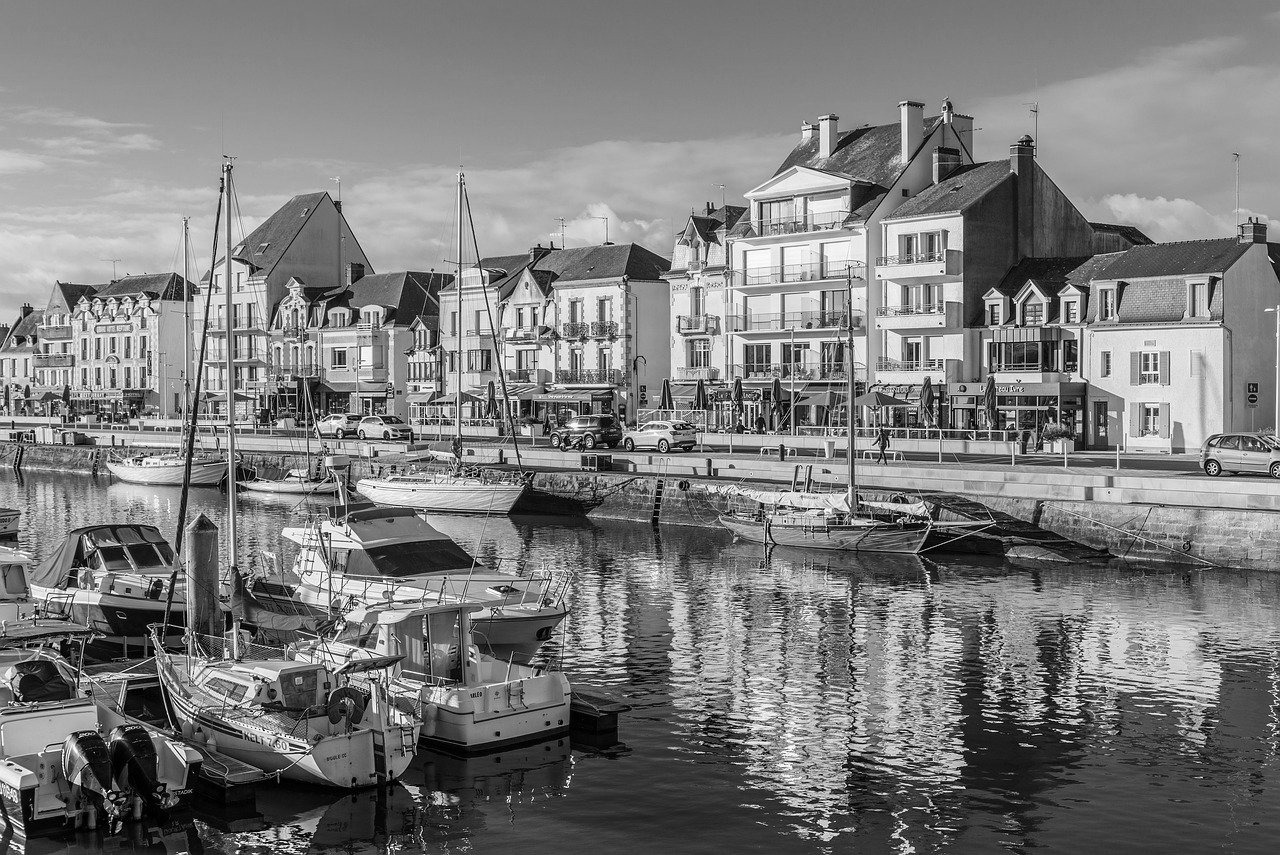
Without color, viewers focus on light, shadow, shape, and expression. Black and white works well for street photography, architecture, fine-art portraits, and social posts where a moody or timeless tone fits the story. You can convert a color image to black and white in desktop software for maximum control, or use an online tool when you need a quick grayscale or high-contrast result.
How to make an image black and white in Photoshop
Adobe Photoshop offers several non-destructive ways to make an image black and white. The best method depends on whether you want simple desaturation or fine control over how each color channel maps to gray.
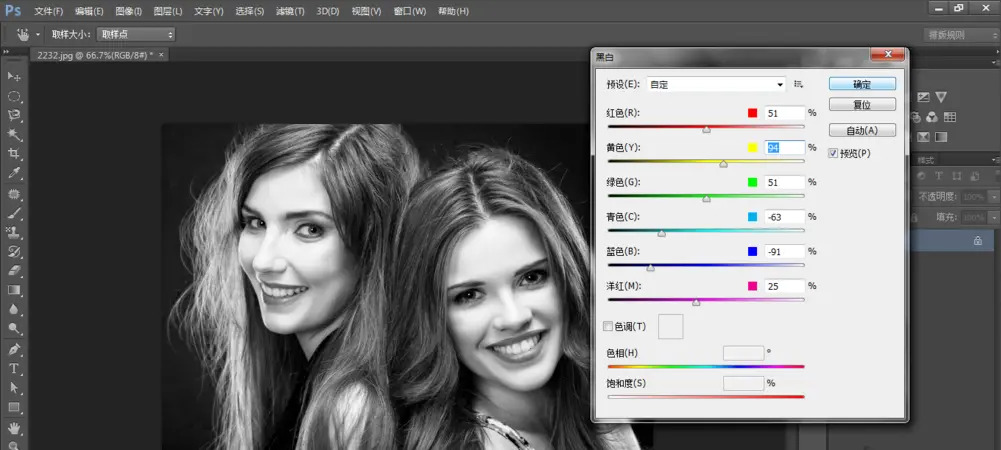
Method 1: Black & White adjustment layer (recommended)
This is the most flexible approach for photographers who want to convert color image to black and white while keeping the original editable.
- Open your color photo in Photoshop.
- In the Layers panel, click the Create new fill or adjustment layer icon and choose Black & White.
- Drag the color sliders (Reds, Yellows, Greens, Cyans, Blues, Magentas) to lighten or darken areas that were those hues in the original. For example, boosting Reds often brightens skin; deepening Blues can darken skies.
- Try the preset menu (Default, High Contrast, Infrared, etc.) as a starting point, then fine-tune sliders.
- Optionally add a Curves or Levels adjustment layer above it to refine contrast.
- Export via File → Export → Export As (PNG or JPG) when you are satisfied.
The adjustment layer preserves your color original underneath, so you can revisit the conversion anytime.
Method 2: Hue/Saturation desaturation
For a quick one-click look:
- Go to Image → Adjustments → Hue/Saturation (or add a Hue/Saturation adjustment layer).
- Drag Saturation to −100.
This removes color but does not let you control how individual hues translate to gray. Skies and skin can look flat compared with the Black & White adjustment. It is fine for fast drafts or when you plan to add contrast later with Curves.
Method 3: Channel Mixer
Advanced users sometimes use Channel Mixer to mimic classic film looks:
- Add a Channel Mixer adjustment layer.
- Check Monochrome.
- Adjust the Red, Green, and Blue output sliders (they should total around 100% for a balanced result).
Channel Mixer is powerful but less intuitive than Black & White for most edits. Use it when you want precise emulation of red, green, or blue filter effects on black-and-white film.
Method 4: Gradient Map
A Gradient Map adjustment layer maps shadows to one color and highlights to another. With a black-to-white gradient, you get a stylized monochrome image—often higher contrast than a plain desaturate. Experiment with gradient stops for a matte or punchy look.
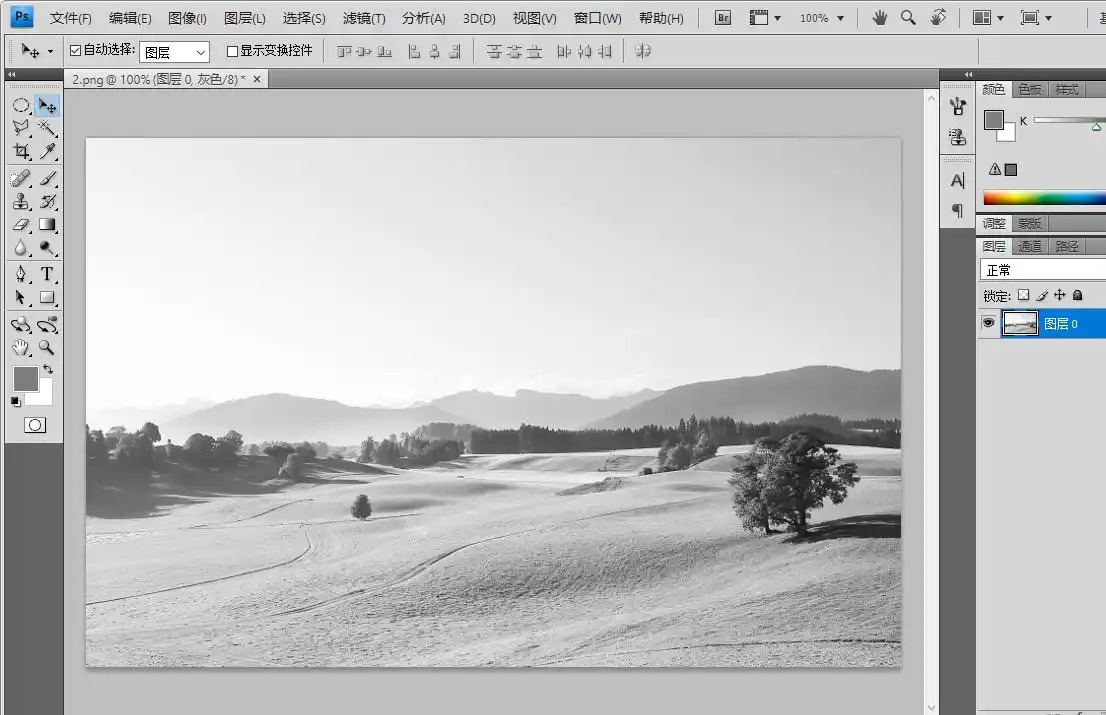
Photoshop tip: Always work on a duplicate layer or use adjustment layers so you can undo or refine. For print, export at full resolution and avoid repeated lossy JPG saves.
Photoshop vs. online conversion
Photoshop excels when you need per-color tuning, dodging and burning, or layered retouching. When you only need to convert a color image to black and white quickly—without installing software or uploading files to a server—a browser tool is often enough. That is where ROCKIMG’s page at black-and-white.html fits in.
Convert color to black and white online with black-and-white.html
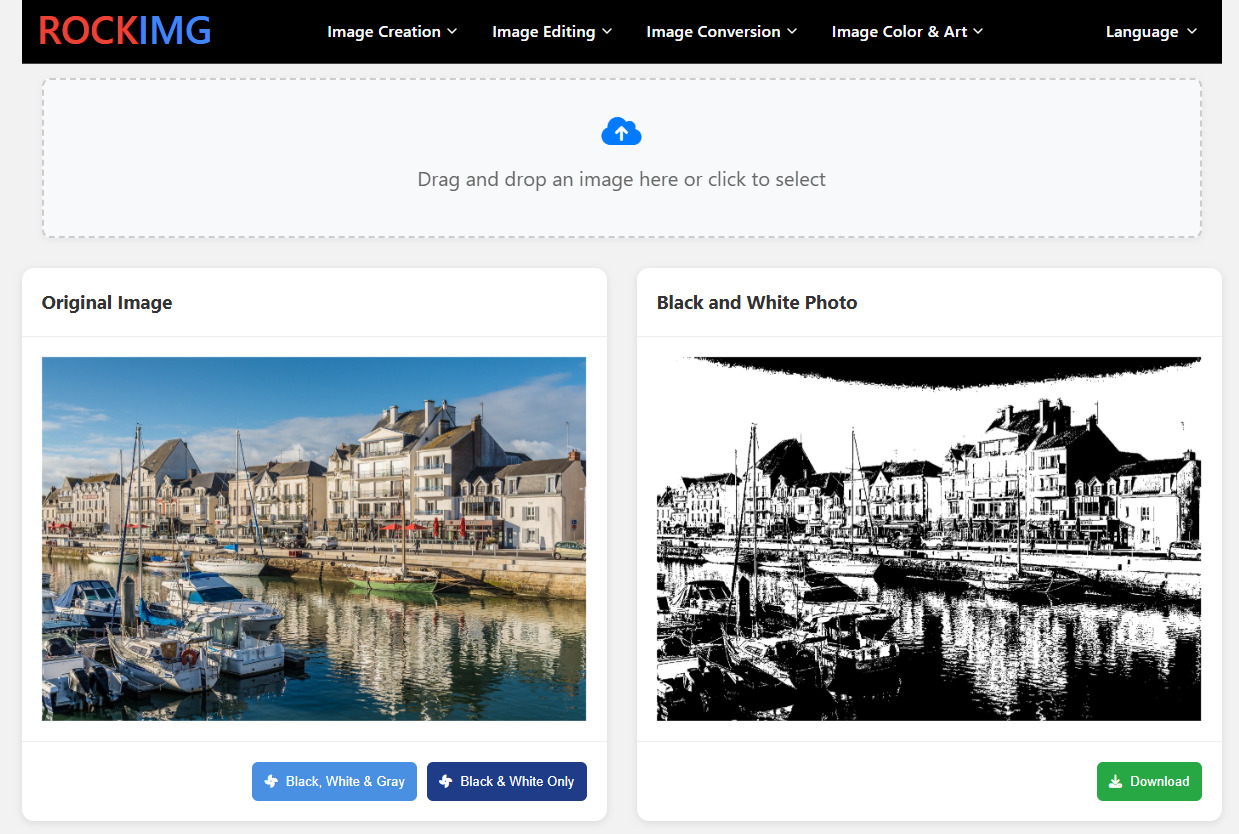
The Black and White Photo Converter on ROCKIMG lets you upload a color image and choose between two conversion styles. Processing happens locally in your browser: images are not stored on ROCKIMG servers, which is helpful for everyday personal photos.
What the tool offers
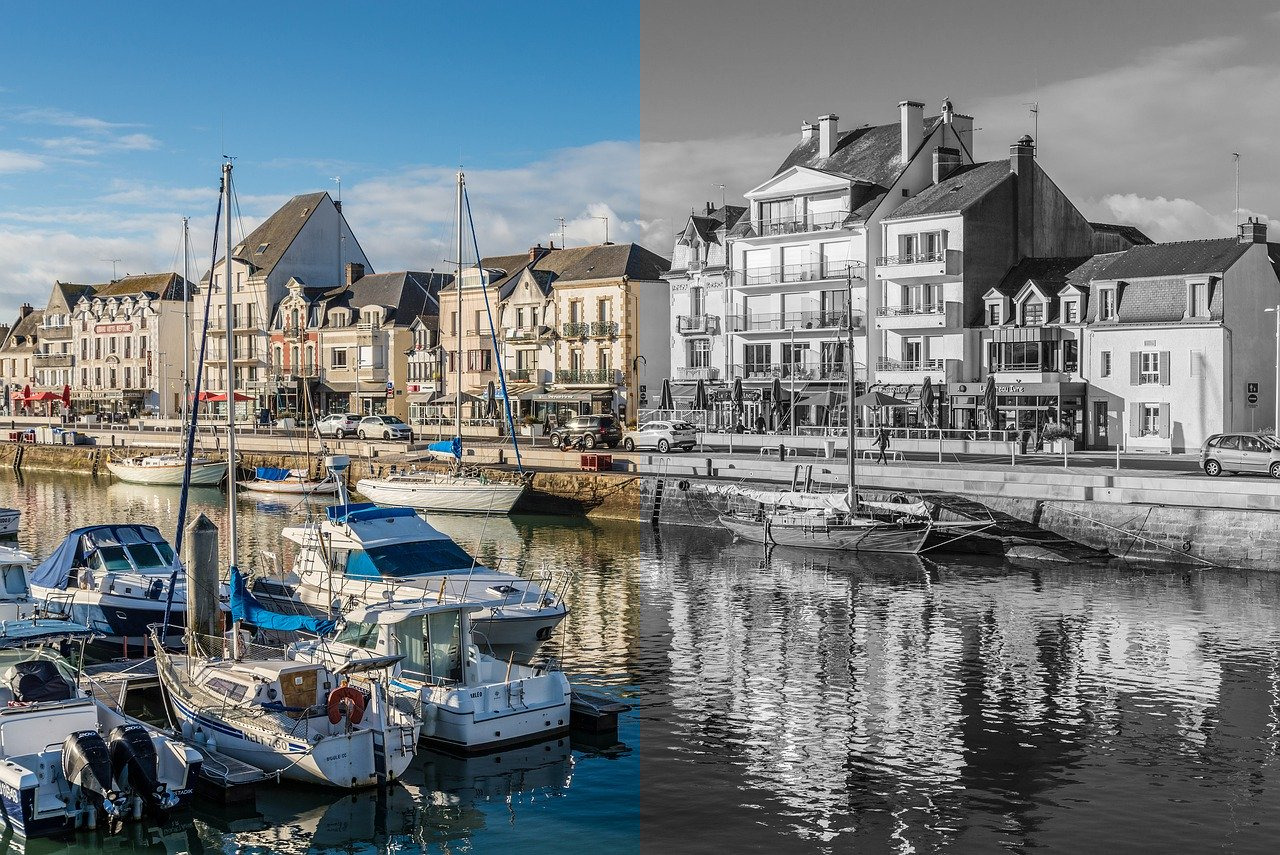
- Black, White & Gray — full grayscale conversion with many shades of gray (ideal for portraits, landscapes, and prints).
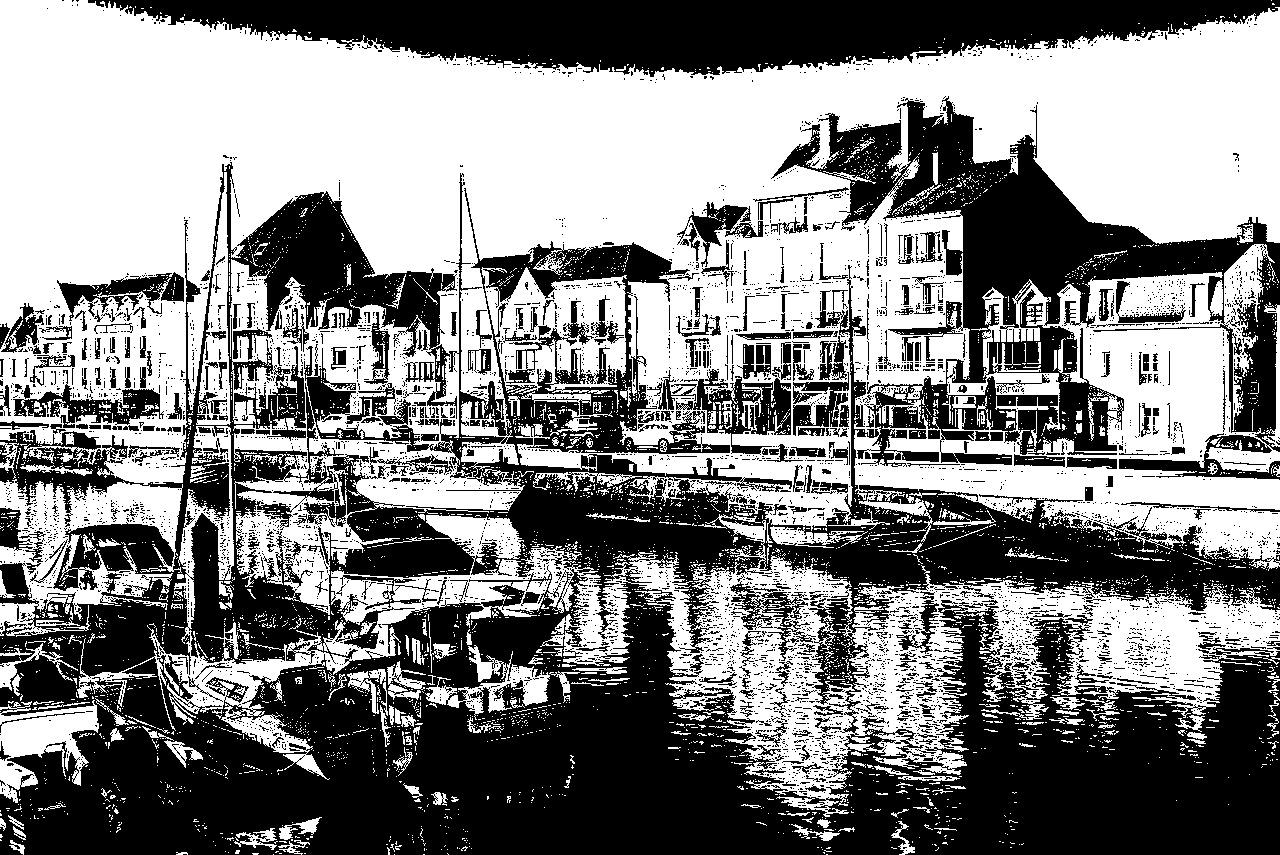
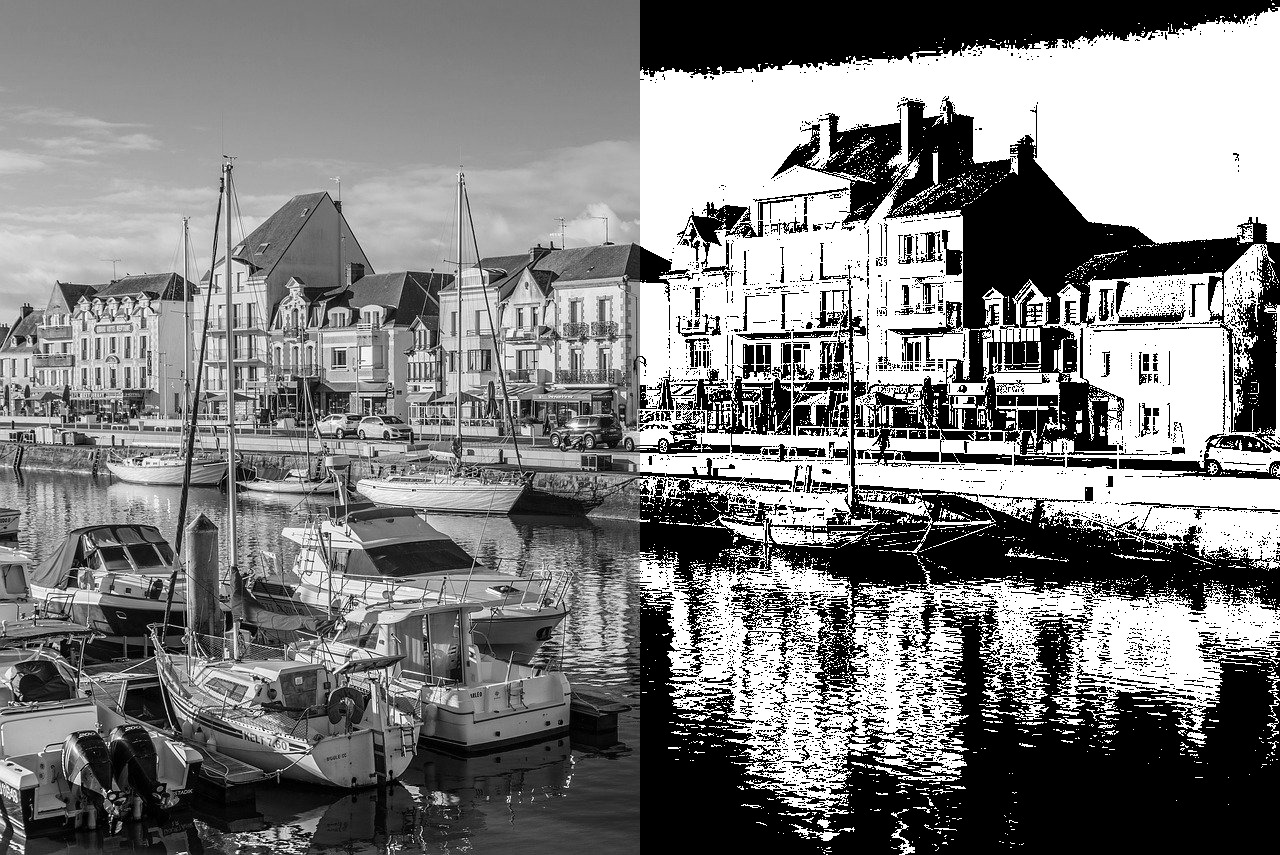
- Black & White Only — high-contrast binary black and white (pure black and pure white pixels), useful for logos, stamps, or graphic effects.
- Drag-and-drop upload — supports JPG, PNG, WebP, and GIF.
- Instant preview — see the result beside your original before downloading.
- One-click download — save the converted image as PNG.
- Full-size view — click the result image to open a larger preview in a lightbox.
Grayscale vs. binary black and white
Understanding the difference helps you pick the right button on black-and-white.html:
- Grayscale images use a smooth range from black through mid-gray to white. They look natural for most photos and match what many people mean when they say “black and white photo.”
- Binary black and white images contain only two values—no gray tones. The tool averages each pixel’s RGB channels and applies a threshold: lighter areas become white, darker areas become black. The result is bold and graphic, similar to a photocopy or line-art effect.
Step-by-step: black-and-white.html
Step 1: Open the tool
Visit black-and-white.html in any modern desktop or mobile browser.
Step 2: Upload your color image
Drag and drop a file onto the upload zone, or click to select from your device. The original appears in the preview panel.
Step 3: Choose a conversion mode
Click Black, White & Gray for a standard grayscale photo, or Black & White Only for stark two-tone contrast.
Step 4: Review and download
Check the result in the output panel. Click the image to view it full size if needed, then press Download to save black-and-white.png to your computer.
When to use Photoshop vs. black-and-white.html
- Use Photoshop when you need color-channel control, local adjustments, or integration with a larger edit workflow.
- Use black-and-white.html when you want a free, fast convert color image to black and white workflow with no install and no server upload.
- Choose grayscale on the online tool for natural-looking photos; choose binary for posters, stencils, or high-impact graphics.
Best practices
- Start from the highest-resolution source file you have before converting.
- Keep a copy of the color original—monochrome edits are easier to revisit from color than the other way around.
- For portraits, grayscale usually flatters more than binary black and white unless you want a deliberate graphic style.
- After downloading from the online tool, you can still open the PNG in Photoshop for further Curves or dodge/burn work.
Conclusion
Learning how to make an image black and white in Photoshop gives you professional control through Black & White adjustments, desaturation, Channel Mixer, and Gradient Map. When speed and privacy matter, ROCKIMG’s Black and White Photo Converter at black-and-white.html lets you convert a color image to black and white in seconds—with grayscale or pure black-and-white output—right in your browser.
Convert your photo to black and white free—no upload to servers.
Open Black and White Converter