
How to Adjust Image Brightness and Contrast Online
A photo can look fine on your phone and still feel flat, muddy, or too dark once you open it on a bigger screen. You do not need Photoshop to fix that. ROCKIMG’s free Adjust Image Brightness and Adjust Image Contrast tools let you brighten, darken, or punch up contrast on the full frame—or only inside a draggable selection box—then download PNG, JPG, or WebP. Everything runs in your browser; files are not uploaded to ROCKIMG servers.
Published on: July 19, 2026
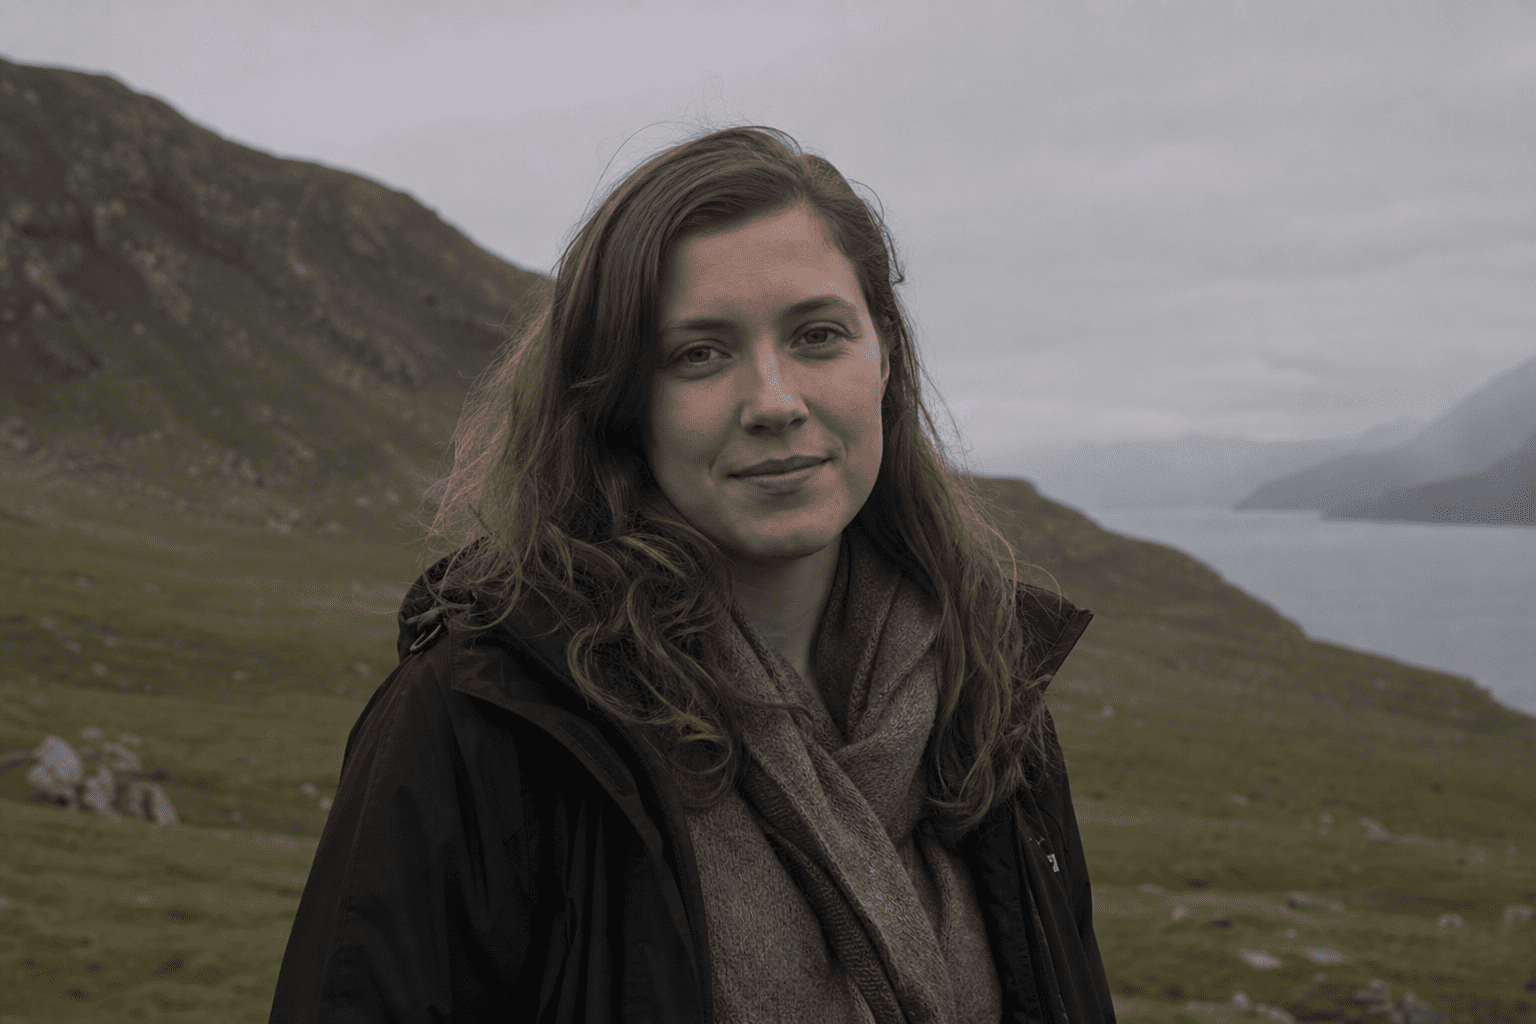
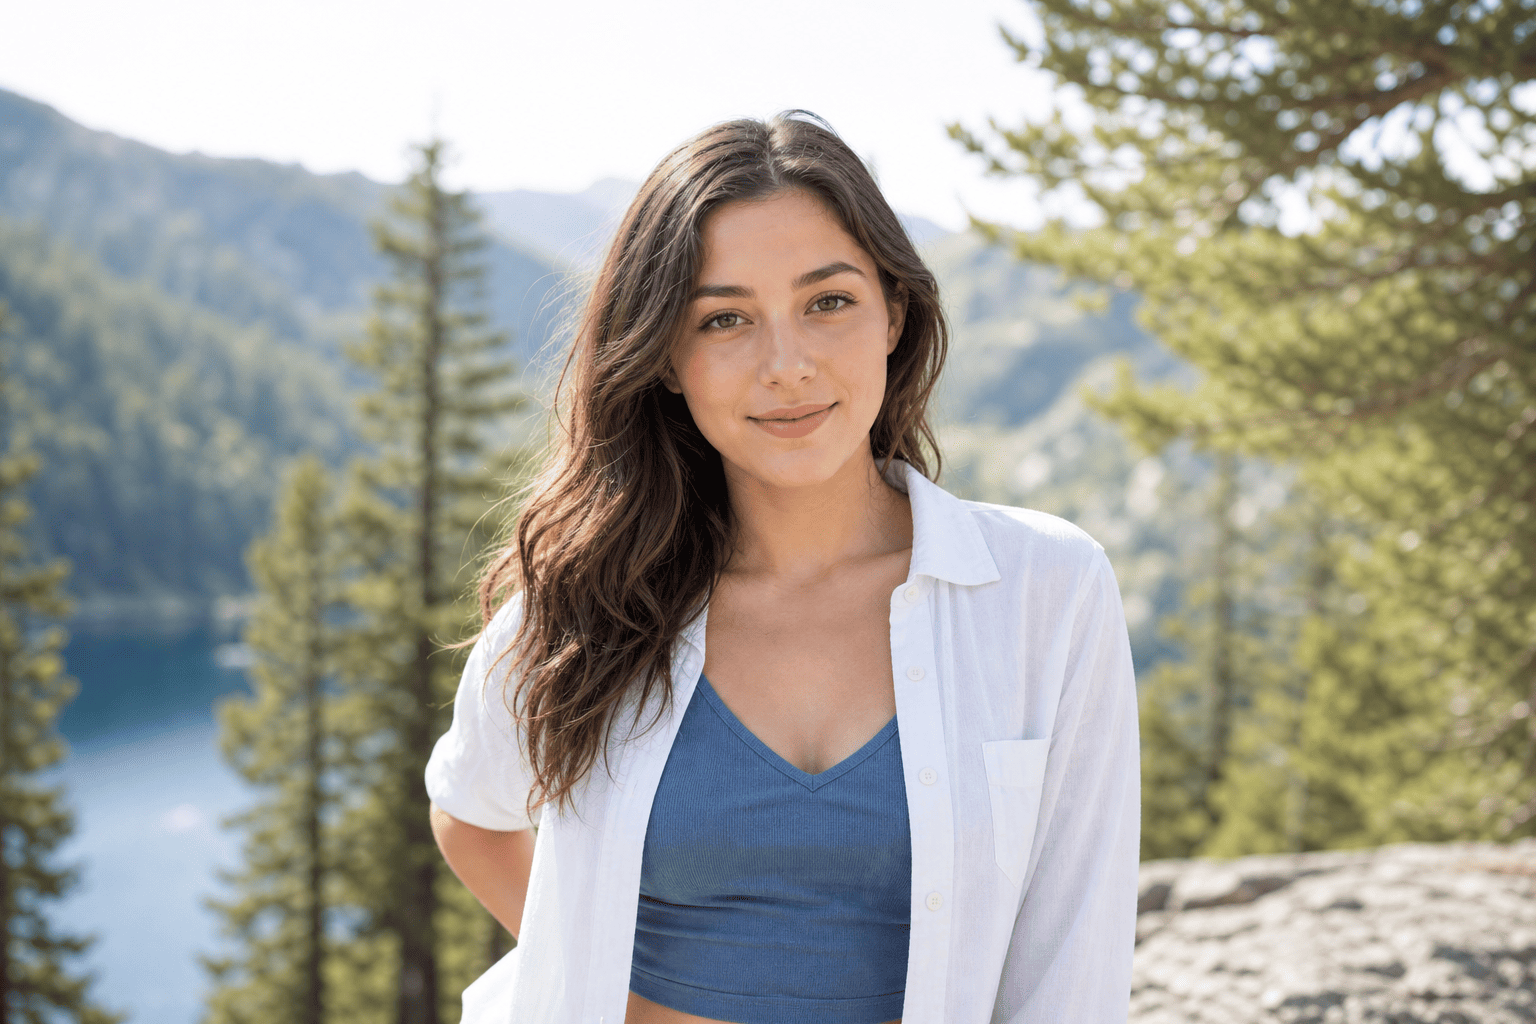
Brighten a whole photo or just one region—free, private, in your browser.
Try Adjust Image BrightnessWhy adjust brightness and contrast before you publish
Brightness and contrast control whether people can see detail and feel depth. Fix them early so product shots, portraits, and screenshots do not look accidental once they leave your camera roll.
Common reasons to edit online:
- Indoor or evening photos — faces and products sit in shade while the background still looks acceptable.
- Flat daylight — overcast light keeps exposure OK but kills separation between subject and background.
- Screenshots and scans — gray backgrounds and washed text that need a contrast bump for reading.
- Marketplace listings — one underexposed corner that makes an item look worse than it is.
- Quick social crops — no time for a full desktop edit, but you still want a cleaner export.
That link between clearer photos and attention is not only intuition. In a SIGIR 2019 eCom study on Elo7 (a large Brazilian marketplace for crafts and personalized goods), Maros et al. analyzed product search logs—over four million products and about a hundred thousand unique queries across two months—and compared image aesthetics for frequently clicked vs. rarely clicked items. Among sixty-six base aesthetic features (including exposure and contrast), forty-two showed statistically different distributions between the most- and least-clicked products for a query (Kolmogorov–Smirnov test, p < 0.05). Their exposure plots, in particular, indicate that more-clicked images tend to sit at higher exposure—consistent with brighter listings drawing more attention—while the authors conclude that attributes such as brightness, colorfulness, and contrast can influence product clicks, even though image quality alone does not decide every click.
Brightness vs contrast: pick the right control
Brightness shifts how light or dark the selected pixels feel; contrast stretches or softens the gap between dark and light. Brighten first when the whole frame is too dark; raise contrast when tones look gray and lifeless even at a decent exposure.
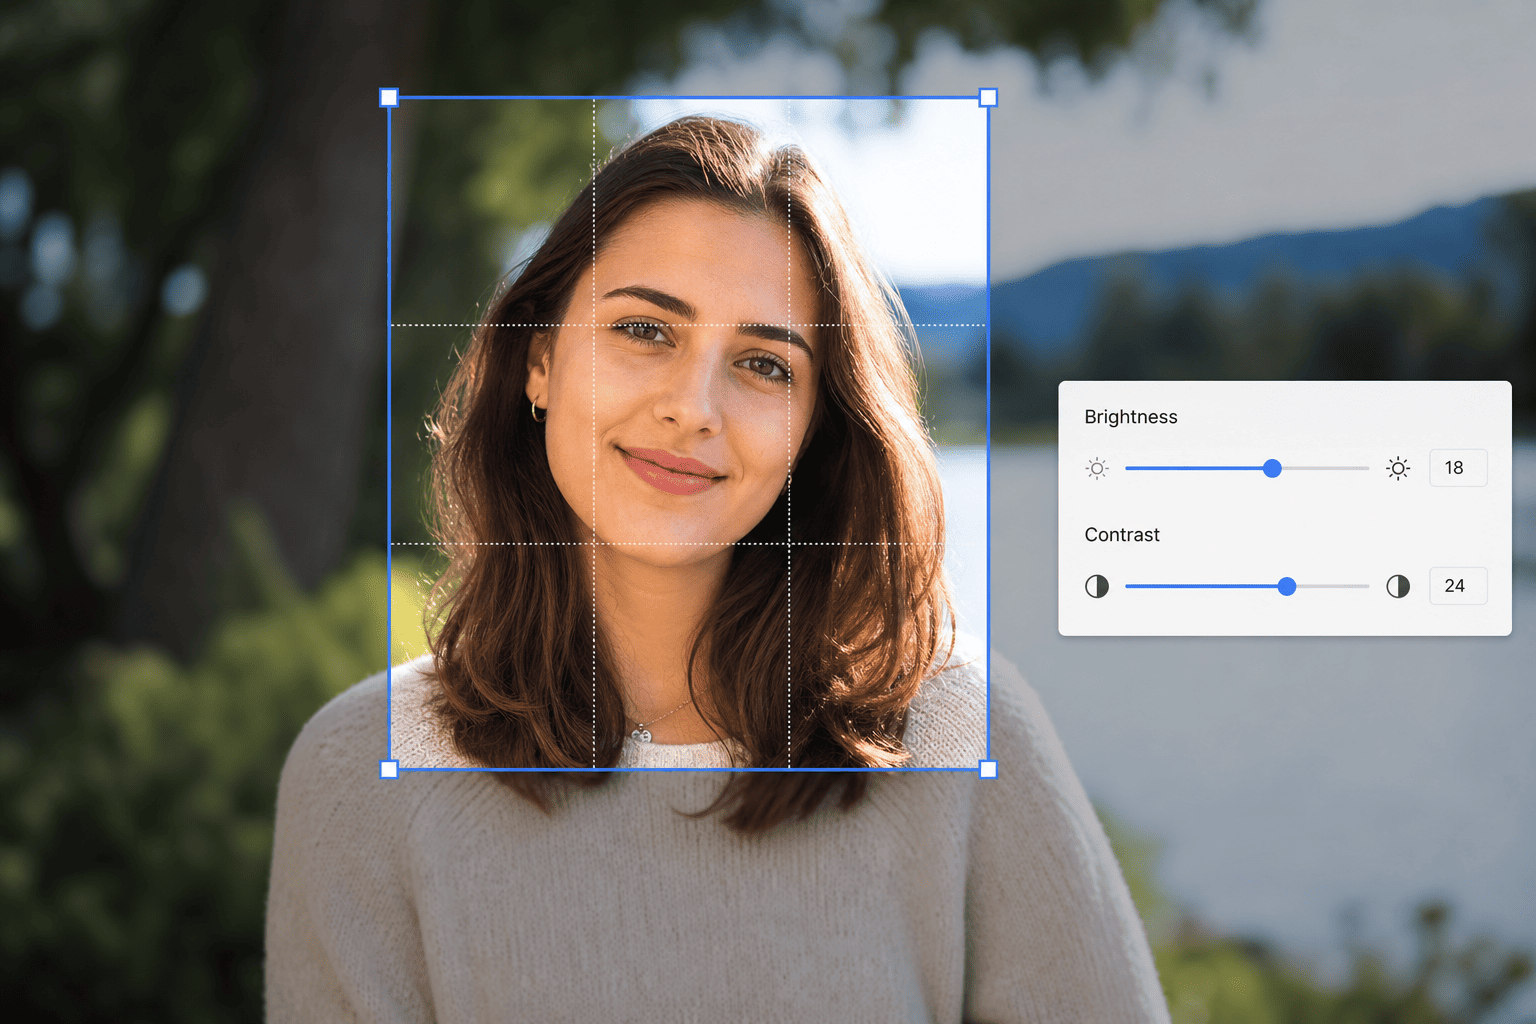
- Brightness above 100% — lightens the selection (or full image). Below 100% darkens it. 100% means original.
- Contrast above 100% — more separation and “punch.” Below 100% softens the look. 100% means original.
- Order of work — many editors brighten a dim face first, then nudge contrast so the subject still separates from the background.
- Clipping risk — pushing both sliders hard can crush shadows or blow highlights; re-check the result panel before download.
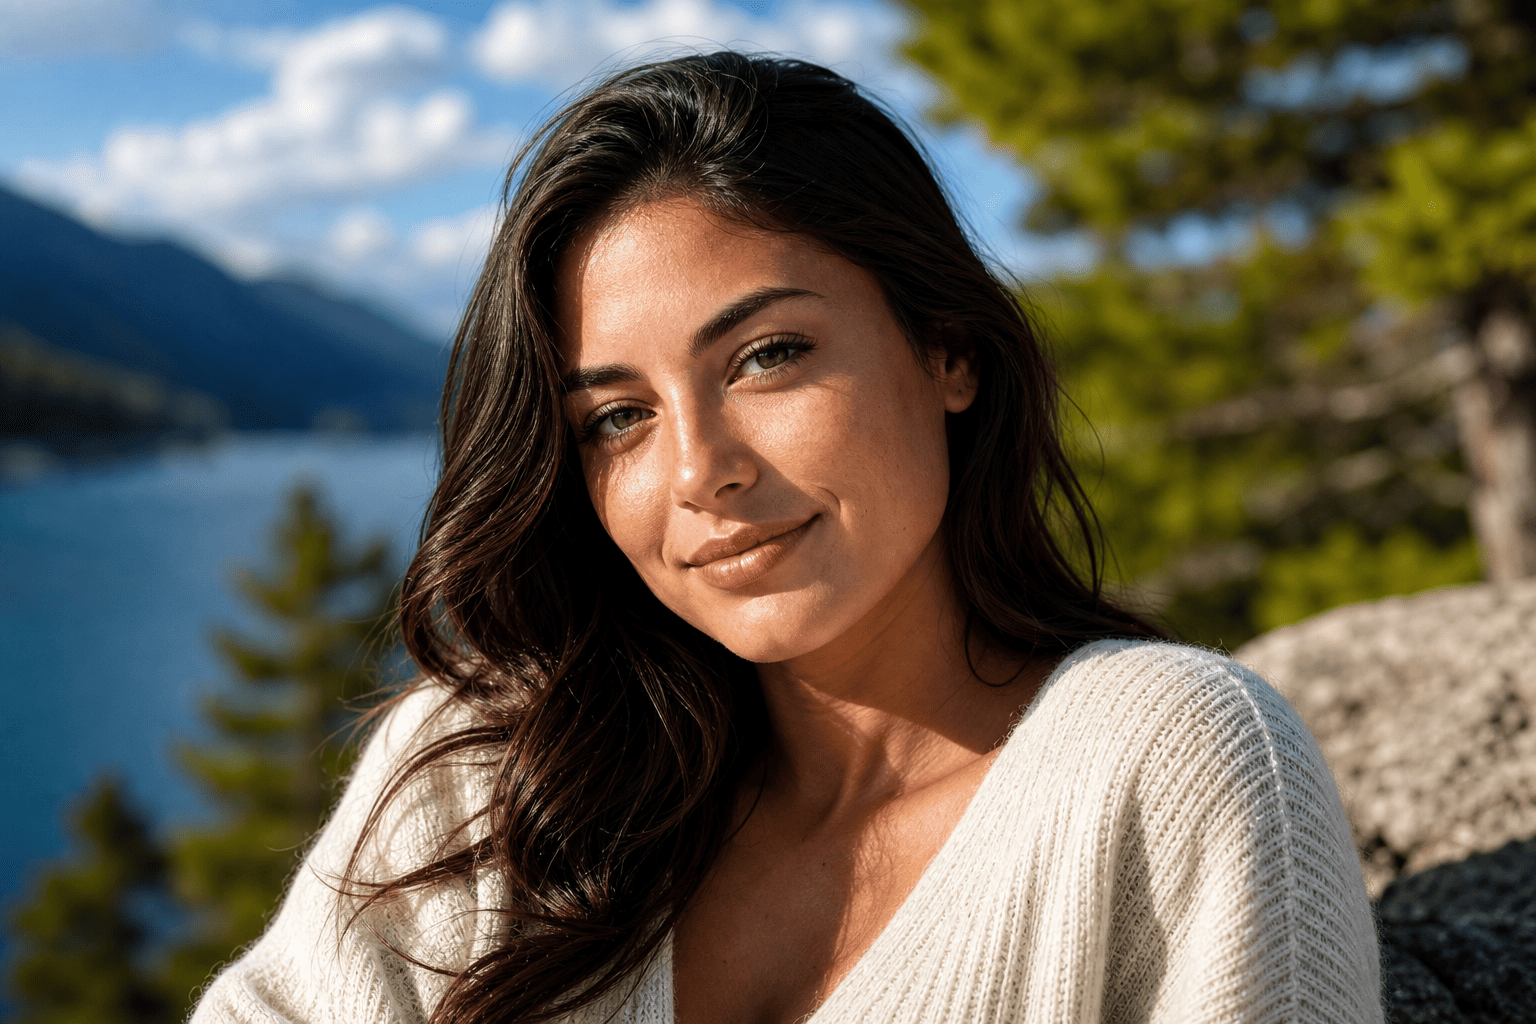
What the ROCKIMG adjust tools share
Both pages use the same local editor pattern: upload, drag a selection (defaults to the full image), move a 0%–200% slider, apply, then download. The difference is which attribute you change—brightness on adjust-image-brightness.html, contrast on adjust-image-contrast.html.
- Draggable, resizable selection — blue box with handles; start full-frame, then shrink to a face, product, or sky if you only want a local fix.
- Live preview — moving the box or slider updates what you see before you commit.
- Apply buttons — Apply Brightness or Apply Contrast writes the result canvas.
- Export formats — PNG, JPG, or WebP.
- Privacy — processing stays on your device; refresh clears the session.
How to brighten an image online
Open Adjust Image Brightness, set the selection, push the slider above 100%, apply, and download. Use a smaller box when only one area needs light.
Step 1: Upload
Drag and drop a JPG, PNG, WebP, or other common image, click to browse, or paste with Ctrl+V / Cmd+V. The editor appears with the selection covering the full image.
Step 2: Frame the area
Leave the box full-frame for a global brighten. For a face, product, or underexposed corner, drag the edges and corners until the box covers only what should change. Pixels outside the box stay as they were after you apply.
Step 3: Set brightness
Move the brightness slider. Values above 100% brighten; below 100% darken. Small steps (about 110%–130%) usually look more natural than jumping straight to 180%.
Step 4: Apply and download
Click Apply Brightness. Check the result panel, pick PNG / JPG / WebP, then download. If the midtones look right but the photo still feels gray, switch to the contrast tool next instead of brightening again.
Tip: When a sky is already bright, keep the selection on the subject so you do not blow out clouds while lifting a face.
Need punch more than light? Jump to contrast after you set exposure.
Try Adjust Image ContrastHow to adjust image contrast online
Use Adjust Image Contrast the same way: upload, select, raise or lower the contrast slider, apply, export. Contrast fixes “milky” photos that are already bright enough.
Step 1: Upload the same or a new file
You can start from the original upload or from a brightness export you already downloaded. Local processing means each tool session is independent—re-upload the file you want to refine.
Step 2: Match the selection to the problem
Full-frame contrast helps scans and flat landscapes. A tight box helps when clothing texture or text needs clarity but the background should stay soft.
Step 3: Dial contrast
Above 100% increases separation; below softens. Watch for crushed blacks on dark clothing and neon-looking edges on already crisp photos—if that appears, ease the slider back toward 100%.
Step 4: Apply Contrast and export
Click Apply Contrast, confirm the result, then download in your preferred format. Keep the original file if you might try a second intensity later.
Practical recipes
Use short recipes so you do not stack random slider moves. Brightness and contrast solve different failures; combine them on purpose.
Dim indoor portrait: Brightness ~115%–140% on the face box, then contrast ~105%–120% if the skin still looks flat.
Gray product photo: Contrast first (~120%–150% full frame), then a light brightness tweak only if the item still sits too dark.
Screenshot with washed UI: Contrast up; avoid extreme brightness that washes white panels further.
One dark corner: Shrink the selection to that region; leave the rest at original so you do not flatten a good sky or wall.
Brightness, contrast, and related ROCKIMG tools
Stay on the adjust tools when exposure and punch are the only problems; switch when you need a different kind of tone change.
- Adjust Image Brightness — lighten or darken full frame or a local box.
- Adjust Image Contrast — strengthen or soften tonal separation the same way.
- Black and White Converter — remove color after you set exposure, if you want a mono export with clearer structure.
Privacy and formats
Both tools process images locally in the browser. Supported uploads include common formats such as JPG, PNG, and WebP. Closing or refreshing the page clears the editor—download when you are happy with the result.
If a photo is simply too dark, start on brightness. If it is already lit but lifeless, start on contrast. With a selection box, a 0%–200% slider, and local apply/download, you can correct most everyday lighting issues without installing an editor.
Upload a flat or dark photo and set a cleaner exposure in under a minute.
Open Adjust Image Brightness